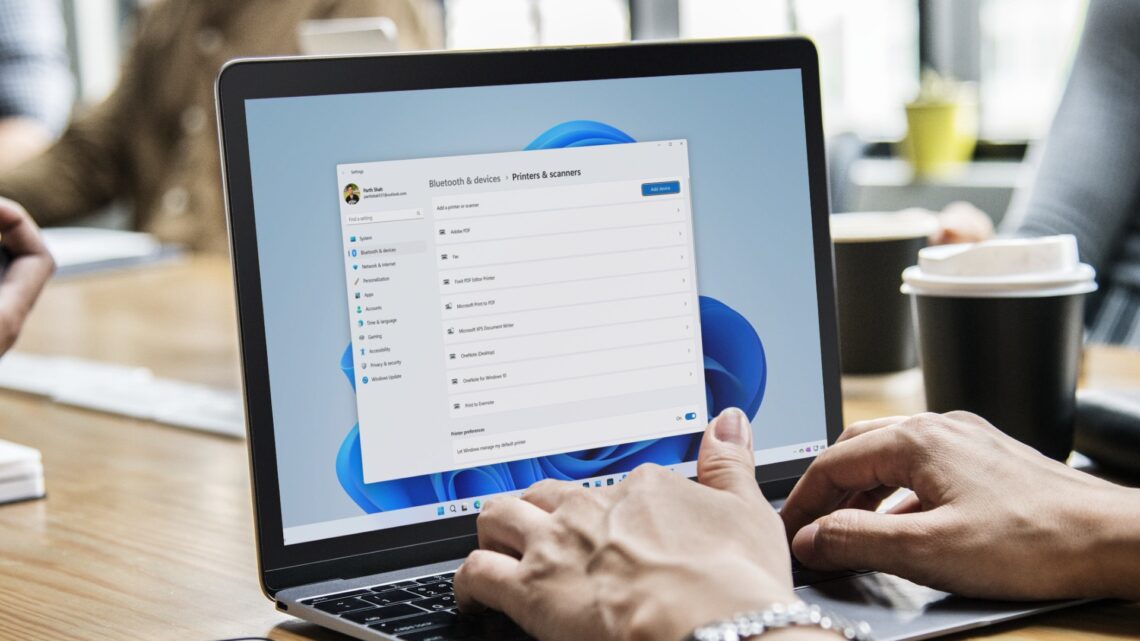
This video will show you how to set up Bluetooth on Windows 11, connect your Bluetooth devices to your PC, and troubleshoot typical Bluetooth problems. Bluetooth not only improves accessibility and makes a gadget portable, but it also eliminates the need for those tangled cords. In this article, we will have a look at how to turn on Bluetooth on Windows 11.
In the Dev channel, Microsoft just published a slew of new Windows 11 features, including a new Bluetooth menu in the Quick Settings panel. For your convenience, we’ve prepared a list of all the intriguing new features in our Windows 11 forthcoming features post.
But, leaving that aside, we’ve discovered that some Windows 11 customers are having trouble figuring out how to enable Bluetooth. So, in order to make things easier, we’ve created this article on how to enable Bluetooth on Windows 11. On that topic, let’s get right into it and figure out how it works.
There are two ways to turn on Bluetooth on Windows 11, either through the ‘Settings’ or the ‘Action Center
Turn on Bluetooth from Action Center on Windows 11-
The newly introduced Action Center is the simplest method to enable Bluetooth on your Windows 11 PC. The following is how it works:
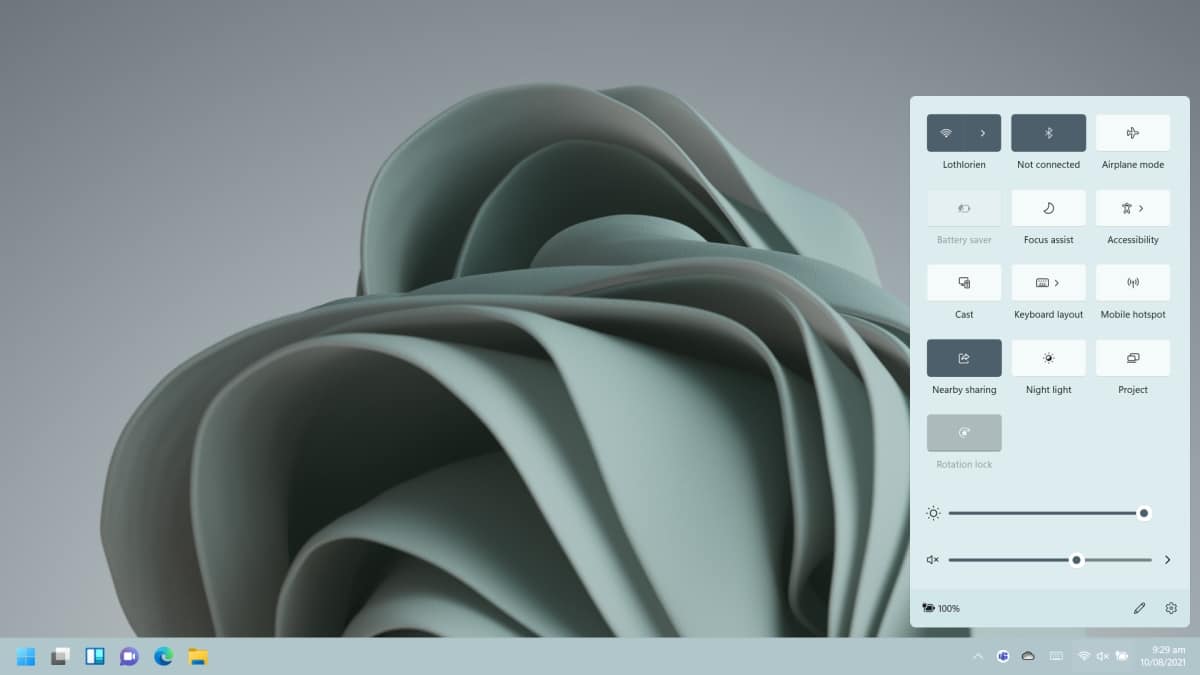
- Press the Windows 11 keyboard shortcut “Windows + A” to enable Bluetooth. The Action Center will be opened (aka the Quick Settings menu). To launch the Action Center, click the Quick Settings box in the bottom-right corner of the screen.
- Now, click the “Bluetooth” icon, which will immediately turn on.
Turn on Bluetooth from Windows Settings on Windows 11-
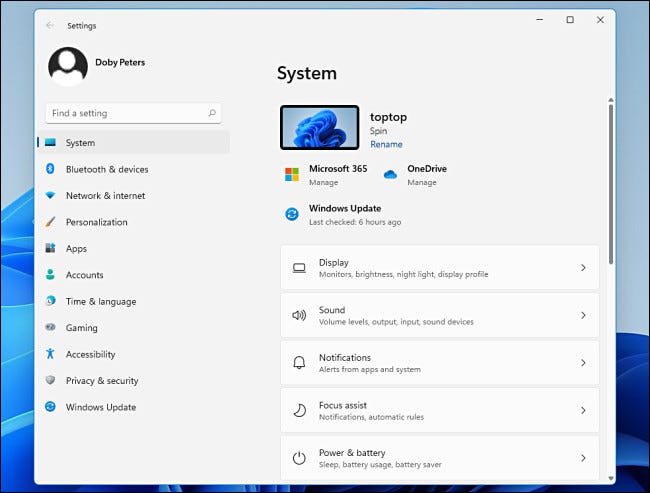
- You may also enable Bluetooth straight from the Windows Settings menu. To open Settings, use “Windows + I” on your keyboard.
- Then, from the left sidebar, go to “Bluetooth & devices” and switch on the “Bluetooth” toggle. That’s all there is to it.
- Click “View more devices” to get a list of all of your associated devices. Click the “Add device” button if you wish to connect a new Bluetooth item. Then follow the instructions outlined in the preceding section.
Turn on Bluetooth from Control Panel on Windows 11-
If the Bluetooth option isn’t available in the Action Center or in Settings, it’s most likely because your PC’s Bluetooth device has been disabled. You must manually switch on Bluetooth from the Control Panel in this situation. Here’s how to get started.
- Open the Run dialogue box by pressing “Windows + R.” Type ncpa.Cpl into this box and press Enter.
- Now the Network Connections window will appear. Your Bluetooth device will be mentioned here. To make the device function again, right-click on it and select “Enable.” On your Windows 11 PC, this will enable Bluetooth. To utilize Bluetooth, go through the first or second stages above.
How to Remove/ Unpair a Bluetooth Device on Windows 11-
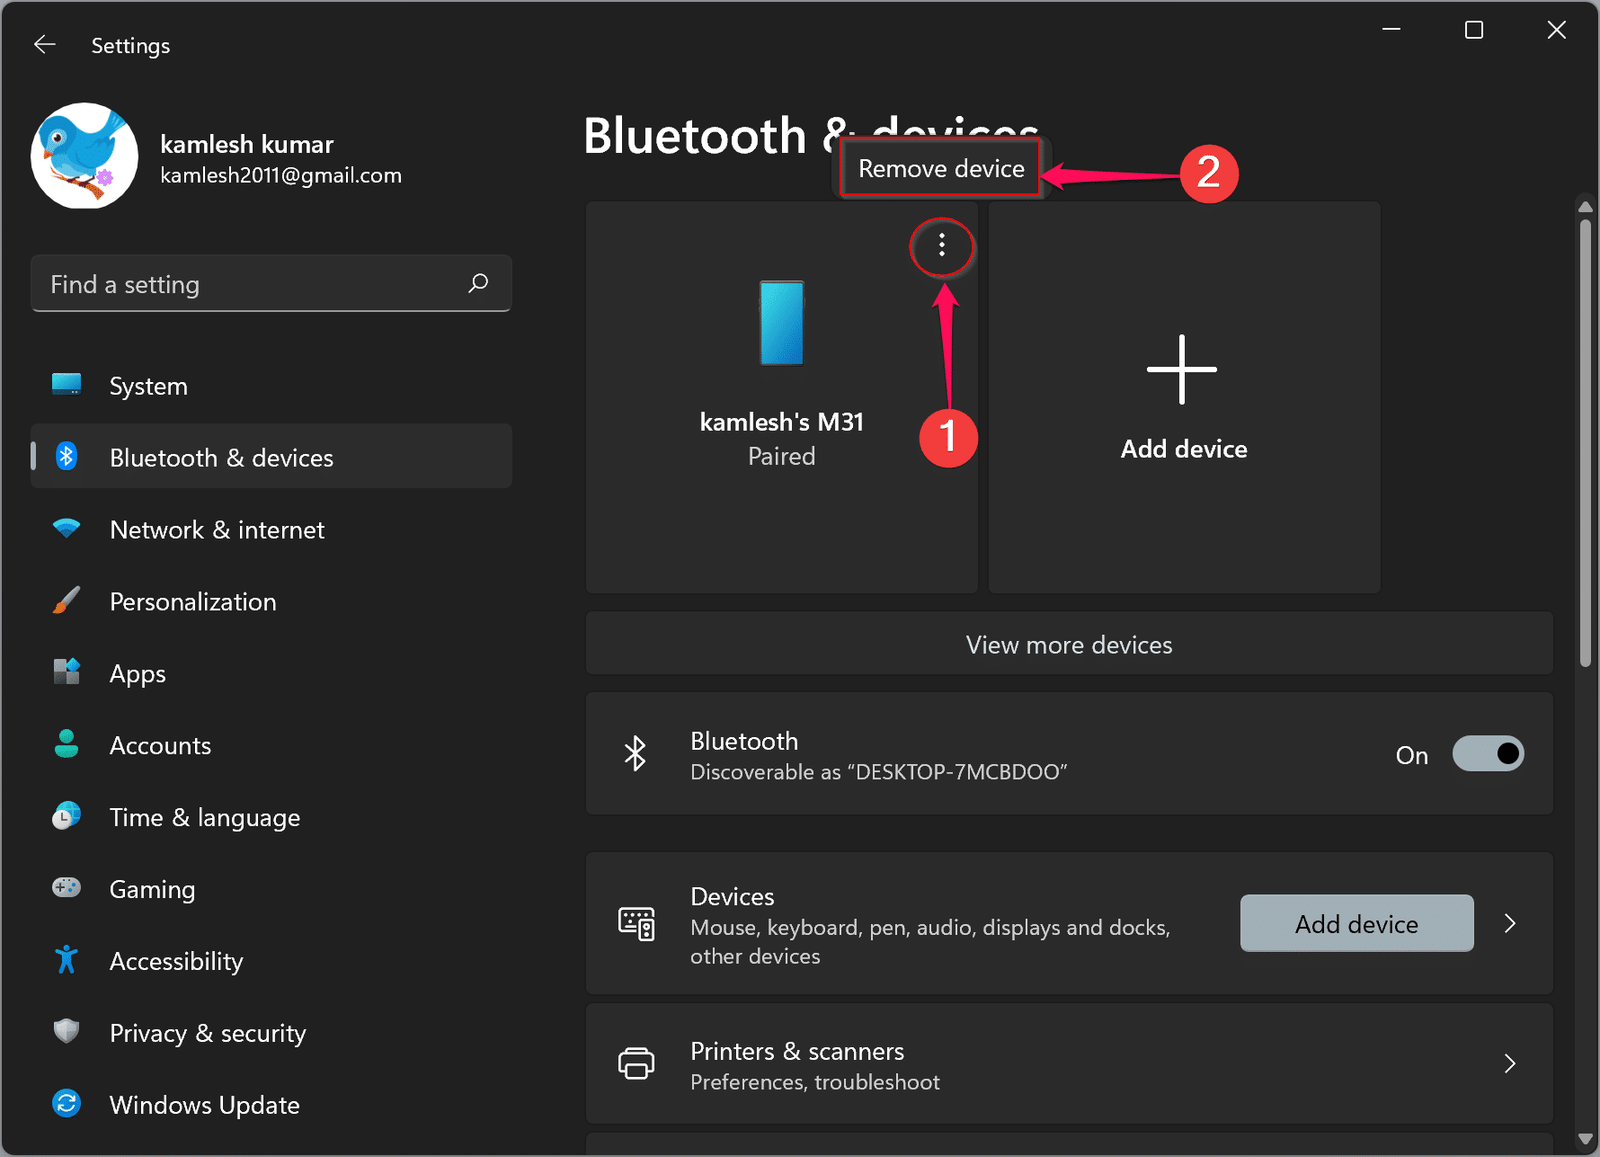
Let me show you how to unpair and uninstall a device now that you know how to switch on and pair Bluetooth devices with your computer. Follow these simple steps to complete the process:
- Press the “Windows + I” keyboard shortcut to access the Windows Settings menu. Then go to “Bluetooth & devices -> View additional devices” to get a list of all the devices you’ve connected to your computer.
Image Source: gearupwindows - Select the “Remove” option from the horizontal three-dot icon next to the device you want to unpair.
- Windows 11 will then ask if you really want to uninstall the device, and you must answer “Yes” in the pop-up that displays next. That’s all there is to it.
So there you have it, four different ways to enable Bluetooth on Windows 11. I’ve listed two simple techniques that should work for the majority of folks. That’s all we’ve got from us. This concludes our tutorial on how to Turn on Bluetooth on Windows 11. If you have any further queries, please leave them in the comments area below.
Also Checkout: 10 Best Antivirus Software For Windows 11


