Zoom is a cloud-based video conferencing service that makes it simple to hold virtual one-on-one or group meetings. This remote communication solution links remote team members with strong voice, video, and collaboration features. In this post, we are here with a guide on how to use Zoom.
This is an easy guide for individuals who have not yet experienced Zoom or are unfamiliar with its features (or who have used it with friends but want to start initiating their own meetings). It includes instructions on how to use the free version.
Keep in mind that while one-on-one video conferences can last as long as you wish, Zoom group calls are limited to 40 minutes. You can either pay for Zoom’s Pro subscription ($14.99 per month) or try an alternate videoconferencing program if you want to conduct longer conversations without interruption (and want a few extra features).
We became dependent on our household internet connections to maintain functioning as the coronavirus outbreak expanded around the world. Many freelancers and contractors are accustomed to working remotely; however, many employees who used to work in offices are now on their own in learning how to use the teleconferencing facilities.
The following are some of Zoom’s primary features:
- HD video conferencing and video chat
- Using VoIP for audio conferencing (Voice over Internet Protocol)
- Messages sent instantly
- Video calls with virtual backgrounds
- Collaboration whiteboards and screen sharing
- Webinars with video
How to get started with Zoom-
On Web-
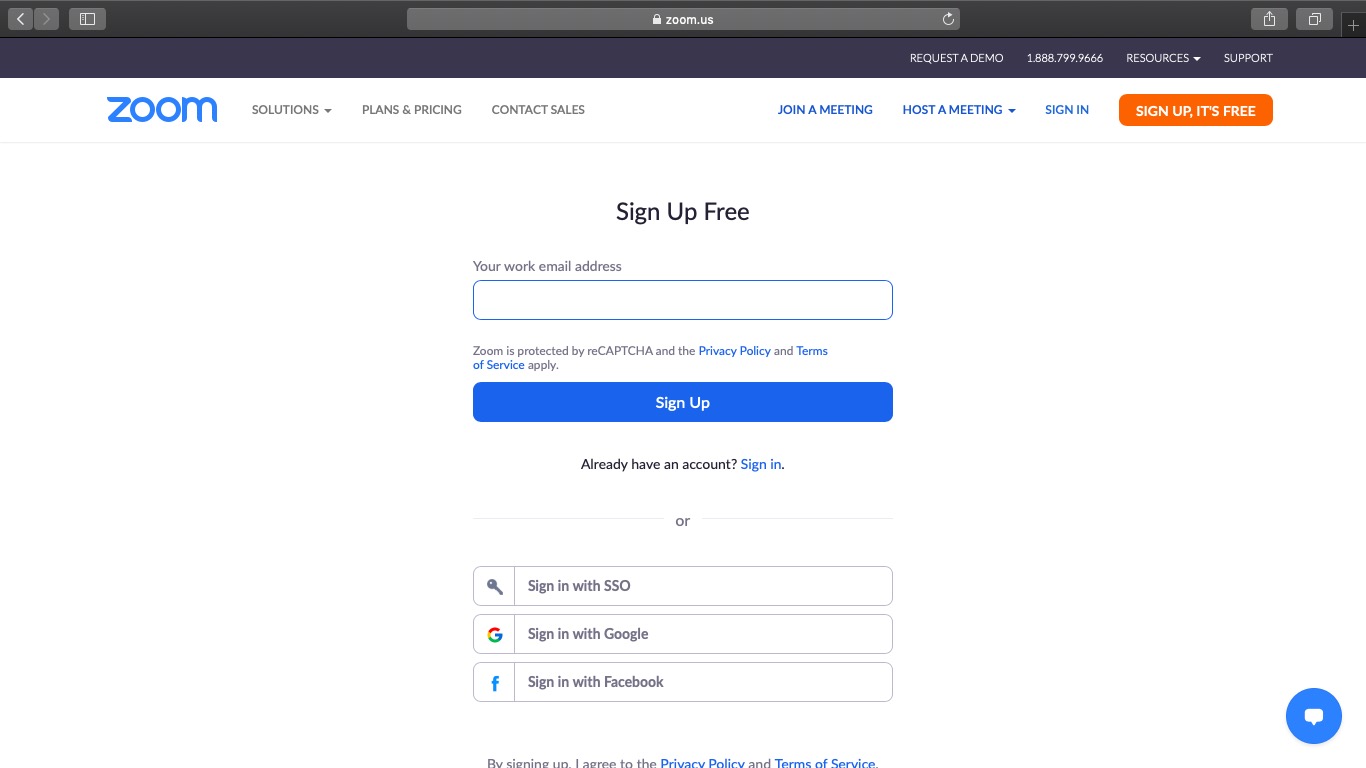
Step 1. To begin using Zoom, go to their website and click the “SIGN UP” button in the top-right corner of the screen.
Step 2. When it comes to creating a Zoom account, you have two alternatives.
You have two options:
- Make a new account with your company’s email address.
- Sign in with your Google or Facebook account or SSO (Single Sign-On).
Step 3. Zoom will now send you an email with a link to confirm your registration. To use Zoom’s Sign Up Assistant, go to that URL and sign in with your credentials.
Step 4. To get started, go to the Zoom website and download the desktop app/Zoom client.
On Mobile-
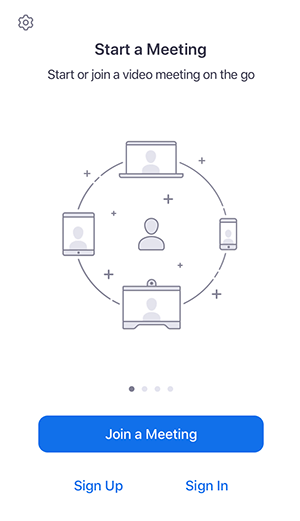
Step 1. From the App Store or Google Play Store, get the Zoom iOS or Android app.
Step 2. Follow the on-screen instructions to sign up or sign in to Zoom, which are similar to the desktop method.
How to Start a Meeting-
It’s simple to start a meeting once you’ve registered with Zoom and downloaded the app.
On Web-
- Start the app.
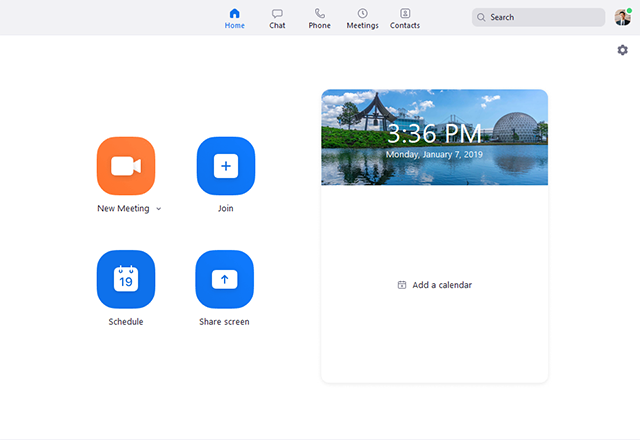
- If you want to start a meeting right away, click the orange “New meeting” button. A video window will appear, followed by a pop-up box asking if you wish to join the conference using your computer’s audio and test the speaker and microphone. (Check the box at the bottom of the pop-up if you don’t want to answer that question.)
- Find the toolbar that appears when you move your cursor in the meeting window and click the little arrow in the “Participants” button to invite others to the meeting. When you do, Zoom will open a box where you can invite your Zoom contacts, send an email with instructions on how to access your Zoom meeting, copy your meeting URL to your clipboard, or copy a longer message to your clipboard that includes your meeting URL and dial-in information. This menu also contains the password for your meeting. Click the “Invite” button when you’re ready.
On Mobile-
- Tap “New Meeting” in the app.
- Choose whether or not to start the meeting with the video on and whether or not to use your own meeting ID (not recommended; see above). Then select “Start a Meeting” from the drop-down menu.
- Press “Participants” on the bottom row of icons to invite others to the meeting, then tap the “Invite” button at the bottom of the following screen. You’ll be able to send a message inviting using a variety of services, including Messenger, Messages, or Gmail; invite your Zoom contacts; or copy the invite link to your phone’s clipboard once you’ve done so.
Image Source: blog.zoom
How to Schedule a Meeting-
On Web-
- Select “Schedule” from the drop-down menu.
- The meeting topic, timing, whether you’ll utilize a “waiting room” (in other words, whether each participant will have to ask permission to enter the meeting), and whether it’s a recurring meeting will all be displayed in a pop-up window.
- If you select “Advanced settings,” you can choose whether or not participants can join before the host arrives, whether or not they should be muted upon admission, and whether or not the session should be automatically recorded.
Note: You have the option of having a unique meeting ID produced automatically or using your personal meeting ID (which does not change). We strongly advise you to use the former; by using a unique ID, you reduce the risk of “Zoombombing,” which occurs when trolls take over your Zoom meetings.
On Mobile-
- Select “Schedule” from the drop-down menu.
- Set the meeting’s date, time, and time zone, as well as whether it should be repeated. If you don’t wish to use your personal meeting ID, a unique ID will be produced for you (we suggest you use the latter; see above).
- Choose from a variety of security options, including passcodes and waiting rooms.
- You can select advanced features such as enabling participants to join before the host or automatically recording the meeting under “Advanced options.” It’s also possible to add it to a calendar.
- In the upper-right corner, tap “Done” (Android) or “Save” (iOS).
Image Source: blog.zoom
How to invite people to your Meeting?
You have a few options for inviting guests to a Zoom meeting. Click or press the Meetings tab whether you’re using the desktop or mobile apps. From there, proceed as follows:
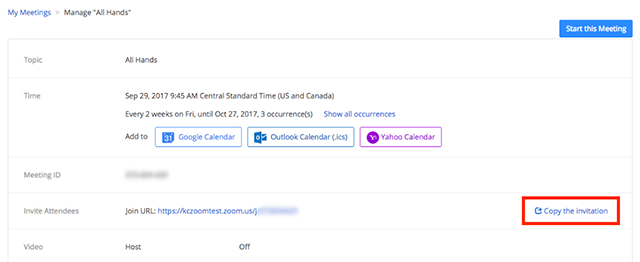
- On the right side of the desktop app’s home page, you should notice your planned meeting. To copy the URL, ID, and phone dial-in information for your Zoom meeting, click the three dots to the right of the meeting header, then select “Copy Invitation.” After that, you can paste it into an email or a text message. You may also go to the Meetings tab and select “Copy Invitation” from the drop-down menu.
- Tap the “Meetings” app at the bottom of the screen on the mobile app. You can send a message inviting via a variety of services, including Messenger, Messages, or Gmail; invite your Zoom contacts; or copy the invite link to your phone’s clipboard when you hit the “Send Invitation” button.
How to Record Zoom Meetings?
When you record a meeting, you may quickly use it as a reference to memorialize what was discussed. This is especially critical for remote teams who mostly communicate via Zoom video conferencing.
You can quickly record meetings using Zoom and save them to your local device or the Zoom cloud. Your team members may simply access it across many platforms by saving it to the Zoom cloud.
On Web-
- Begin a meeting.
- Click the “Record” icon in the Zoom toolbar.
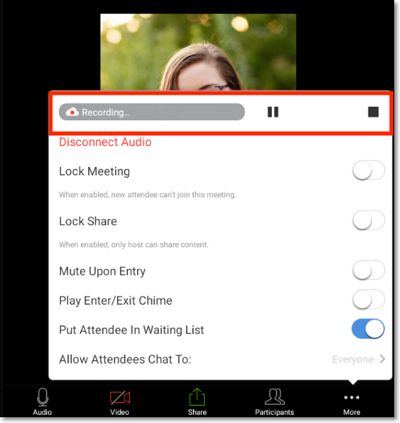
- “Record on this Computer” or “Record to the Cloud” are the options. The recording will begin, and everyone in the meeting will see the word “Recording” in red at the top of the screen.
- To stop recording the meeting, click “Pause/Stop Recording.” You can also end a meeting to stop it from being recorded.
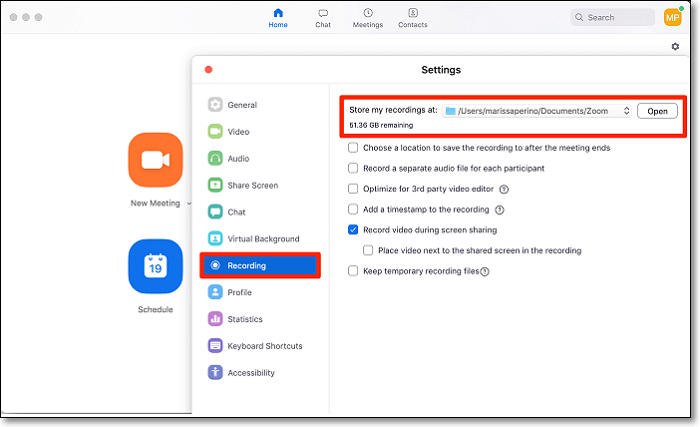
- Zoom transforms the recording to MP4 format and saves it in your specified location when you finish the conference. You may now simply view your previously recorded sessions at any time!
On Mobile-
Zoom’s mobile app only allows you to save meeting recordings to the Zoom Cloud. Here’s how to use your phone to record a Zoom meeting:
- Tap the “More” option in the toolbar during a meeting.
- To begin recording, select the “Record to Cloud” option.
- By clicking the “More” button, you can pause or stop the recording.
You can find your recording in “My Recordings” after the meeting. Logging into your Zoom account using a web browser will take you to this section.
Also Checkout: Top 7 Best eReader: The Books On Screen


